CEM Xmas Community Build 2021
Team 3 and 6
Daily Activities
These are the tasks carried out daily by team 3 and 6 as briefed by the site manager and executed with the the guidance of the team leader.
Day 1
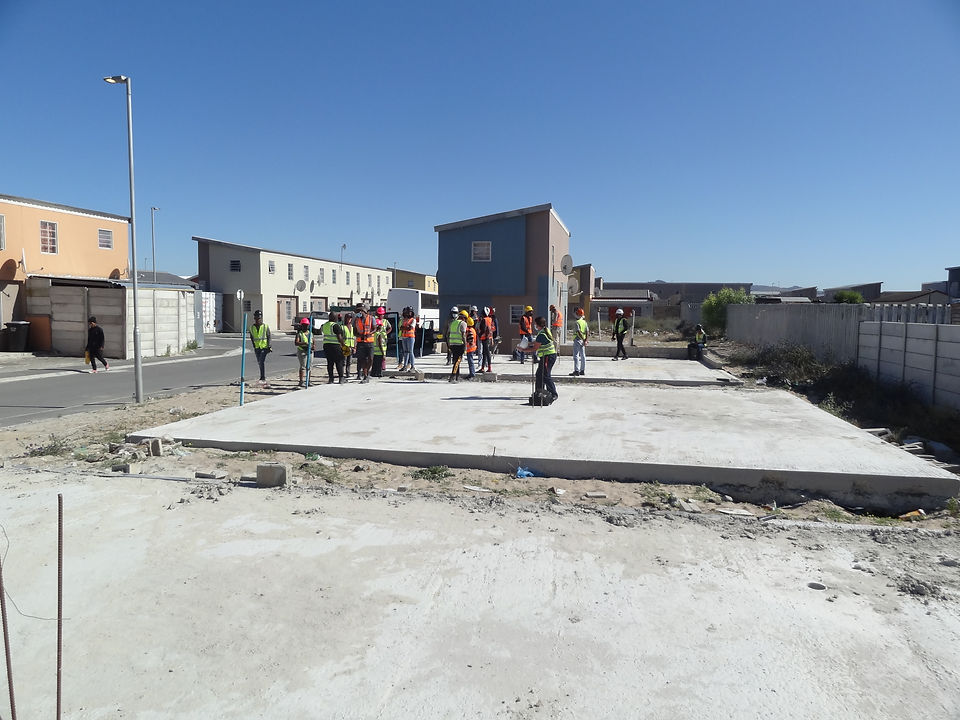
External wall brick laying
2021/11/24
First day: We built two courses of blocks for the external wall of a house which has a raft foundation. The first step was to determine how many blocks were needed for our project considering the 10mm mortar thickness. Secondly, determine expansion joints according to the given plan. Tools needed for this course were- wheelbarrow, shovels, trowels, spirit level, string, gauge rods and tape measure. To mix the mortar we added 4 wheelbarrows of sand, 1 bag of cement, 1 bag of lime, and water. To build, we set out the corners of the house and gave them support. Then, connected a string on both sides to act as our builder’s line when laying bricks. We used a spirit level to level all the bricks for better accuracy.

Day 2
Internal wall brick laying
2021/11/25
We arrived at the site office on Thursday, which was our second day of the CEM Community Build, our temperatures were checked, and we filled in the register/COVID-19. We were briefed of what we would be doing for the day, internal walls were going to be built following Wednesday’s external walls. We left the office to go to the site and upon arrival the external walls were stolen/demolished. This was very heart breaking and frustrating cause thoughts of having to rebuild the walls was flooding our minds.
The organisers informed us that the brickwork was stolen, and they painted a picture of how the incident occurred. We were given a passionate speech about “people stealing from each other and that these kinds of things should not happen because it is taking money from the families homes”, this was a short motivation to spread growth instead of failure. “We want every single person in South Africa to have a place they call their own, their own piece of land”.
Fortunately, our slab wasn’t fully demolished. They didn’t take all the brickwork. We had to calculate the loss of bricks from the theft before continuing the task planned for the day. The theft is a set back for production purposes, it takes away all the progress made from the previous day. The simple act of theft has affected the whole construction, the client having to pay more, the contactor obtaining more material to build and the labours having to start a new wall again. The loss that was made from the bricks stolen amounted to R300.
The loss of production:
Brickwork
Labour
Mortar: cement, lime, sand and water
DPC
Labours Transport
The internal walls were of 90mm wide hallow block with brick force every 3rd course. We first started with setting out and housekeeping (sweeping/cleaning the site). We split the group so that some can collect the blockwork and others can help mix the mortar.

Day 3
Demolishing existing ceiling board
2021/11/26
On this day our team was briefed that we will be removing previously built ceiling boards. In order to safely remove the old ceiling boards and cornices we were tasked to construct scaffolding which each team had to figure out on the spot, truly testing how well we can work as a team under pressure. The scaffolding components came in various standard sizes to accommodate for the different size spaces found in the rooms. Removing the ceiling boards required us to wear the appropriate PPE, including helmets and boots. A harness was not required for the height of the scaffolding.

Day 4
Installing a new ceiling board
2021/11/29
Day 4 CEM Community Build Group Royal Yellow
We started off the day by mixing a specific proportion of mortar then applied beam-filling to the areas where beam-filling was needed especially the in the corners of the walls and where the two rooms in the upper floor met. Then we set up our second scaffolding on the smaller room in the upper floor and started with the application of setting up the ceiling board in both rooms . But first we had to measure the interior walls so that the ceiling board could be fitted and placed. After that we cut the gypsum ceiling board according to the dimensions we got with the use of a saw, knife or grinder and then placed it on the brandering. The fixing method that was used for the ceiling board was screws ( which were inserted with screwdrivers or an electric drill) which were fitted at 450c/c. Unfortunately, we could only cover a portion of the big room in the upper floor with ceiling board at the end of the day.

Day 5
Finishing up ceilings and clean up
2021/11/30
We continued with installing the rest of the gypsum ceiling boards in our rooms. Most of the area that we had to cover had irregular shapes, thus we had to accurately measure and cut the boards to the required sizes, connect to the previously installed board using PVC jointing strips and place into position without damaging the boards. Based on the feedback we received on the previous day’s work, we marked the boards with chalk lines to accurately find the position of the battens above the boards and screw in the ceilings as neatly as possible. On this second day of installing ceilings, our team worked more accurately and efficiently because we had a better understanding of the task.
After all the ceilings were installed, we disassembled the scaffolding and cleaned the rooms for the next trade teams to continue work.